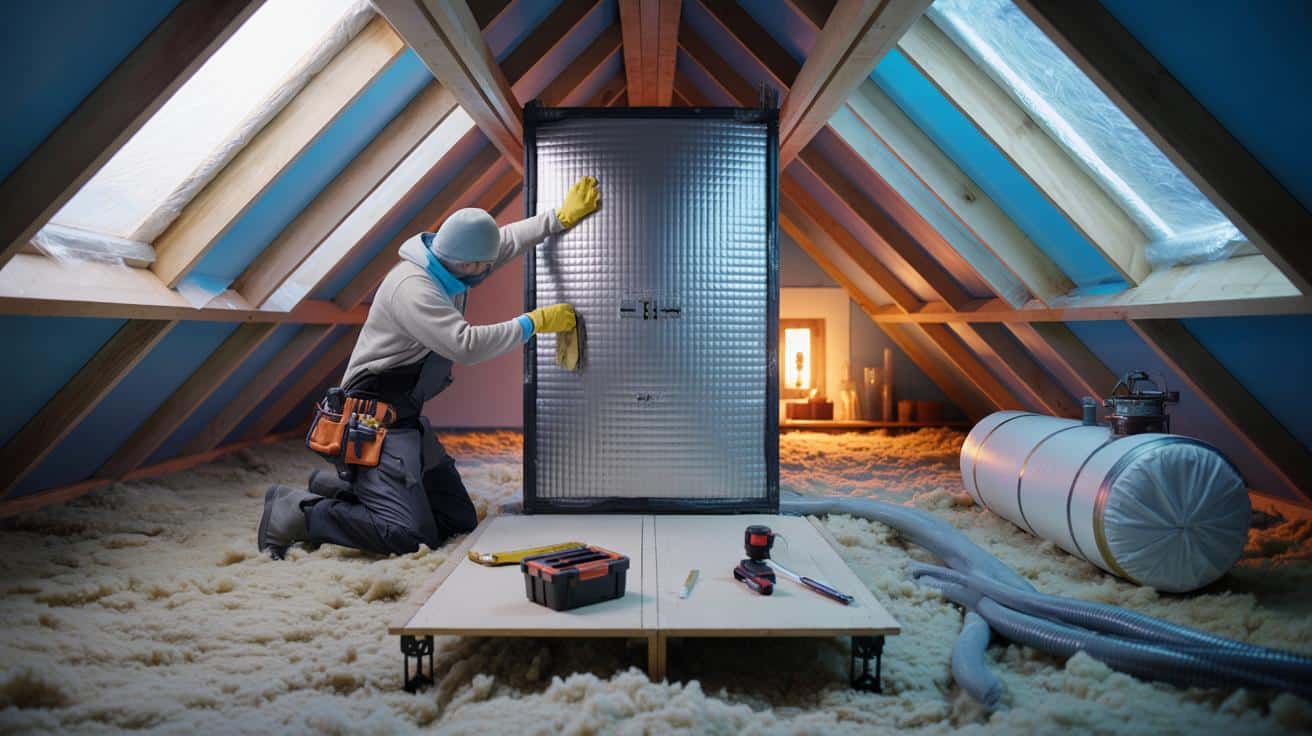
Up in the loft, the cheap rolls of mineral wool looked plump and innocent, but the gas meter downstairs still span like a restless coin. A neighbour swore by another layer; a builder muttered about gaps; my dad said “close the hatch properly.” We’ve all had that moment where the upstairs feels warmer in memory than in reality. On a grey Saturday I went up with a torch, tape, and the kind of hope you tuck into a jacket pocket. Every tiny fix seemed too small to matter. Yet the loft began to sound different — less whistly, more hush. Heat loves an easy exit. The trick isn’t always more insulation. Sometimes it’s making the cheap stuff work like it’s got a degree in physics. And the thing that changed everything wasn’t what I expected.
Seal first, then stack: unlocking the heat you already paid for
Stand in a winter loft and listen. If you hear a murmur like a soft radio, that’s air slipping through the eaves, washing over the top of your insulation and stealing warmth. Your bargain loft roll is brilliant at slowing conduction, yet air movement — the quiet thief — undercuts it. I saw spider webs near the soffits swaying like tiny flags. That’s not cosy ambience, that’s your heating bill drifting into the street. The wool wasn’t the problem. The wind was.
In a modest Leeds semi, we logged temperatures for a week. Topping up from 170mm to the recommended 270mm made a measurable difference, but sealing the loft hatch with compressible tape and boxing-in the eaves with simple baffles pushed the upstairs nighttime temperature up another 1–1.5°C. The boiler cycled less, dropping run-time by around 10% on similar evenings. Not magic — just fewer leaks. Suddenly the cheap rolls felt clever, like someone had taken the handbrake off their performance.
Insulation is a jumper. Air leaks are an unzipped coat. When wind slips through the eaves and across the top of your loft wool, it creates “wind-wash” and weakens the layer you paid for. Add uncontrolled gaps around the hatch, pipes and cables, and warm air exits fast from the rooms below. Keep the loft itself ventilated, though. Fresh outside air at the eaves stops moisture accumulating in the roof deck. The aim is simple: seal the warm side, keep the cold side breathing, and let the wool do its slow, steady job.
Small upgrades you can do in a weekend
Start with the hatch. Fit a closed-cell foam tape around the frame, then turn the lid into a proper plug by gluing 50mm foil-faced board on top. Tape the seams with aluminium tape for a crisp, light-tight finish. Add two turn-buttons or hook-and-eye latches so the lid compresses the seal, not just rests on it. If your hatch lifts into the loft, make a “top hat” box from the same foil board so the insulation forms a continuous lid. A 30-minute job, big difference downstairs.
Now walk the loft like a detective. Gaps around pipes, downlights, and the bathroom fan are classic escape hatches. Use intumescent sealant around pipes and purpose-made downlight covers where needed, then lay a neat blanket of wool back over. Keep a 50mm air gap clear at the eaves by sliding in baffles or strips of rigid board to hold the wool back. Don’t squash insulation with boards; raise them on plastic loft legs so the full depth stays fluffy. Let’s be honest: nobody really does that every day, yet the one-time setup pays every winter after.
Lag the visible pipes, jacket the cold-water tank, and stop draughts from chimneys with a removable balloon. These aren’t fancy projects; they’re the kind of fixes you can do with a brew cooling on the rafters. The most expensive mistake is doing nothing because you can’t afford everything. If the budget stretches, add a second layer of wool laid crosswise to the first, and leave service walkways raised. A little order in a loft goes a long way toward warmer rooms and quieter radiators.
“Air sealing before adding more insulation is like plugging holes in a boat before rowing harder,” says Emma Fisher, a home energy assessor in Manchester. “Most homes leak more heat through five small gaps than one big one.”
- Stick-on foam or EPDM tape for the hatch (compressible, 10–15mm).
- 50mm foil-faced PIR board for a hatch plug or “top hat”.
- Card or plastic eaves baffles to prevent wind-wash.
- Pipe lagging and a BS 5615-compliant tank jacket.
- Fire-rated downlight covers and aluminium tape for joints.
- Loft legs to raise boards above 270mm of insulation.
What happens next: warming the home without gutting the loft
Once the leaks are tamed, your existing insulation begins to feel bigger than it looks. The upstairs warms more evenly, the boiler breathes easier, and the morning chill softens. You might notice the landing isn’t a wind tunnel, and the bathroom mirror clears faster after showers. Small signals that the heat you buy is staying home.
There’s a habit-effect too. When the loft feels ordered rather than wild, you’re more likely to pop up and adjust something — pull insulation back from an eave, reroute a cable off the wool, add a little baffle where you missed one. Habits beat heroics when it comes to energy. Your cheap insulation hasn’t changed. Your context has: fewer draughts, fewer shortcuts for heat to sneak out, and a clearer path for the warm air to rest in your rooms instead of your roof.
Friends swap boiler settings on group chats; neighbours compare gas bills over fences. This is one of those upgrades that actually shows up in that conversation. You don’t need to brag. Mention the hatch, the baffles, the lagging, the way the stairs don’t bite your ankles anymore. Someone will ask what tape you used. And that’s where the story spreads — house by house, hatch by hatch.
None of this asks you to rip the loft apart or spend a month’s wages. It’s closer to tuning a guitar that’s slightly off — a few turns on the pegs and suddenly the song lands. Your job isn’t to chase perfection, it’s to remove the obvious waste. If you rent, you can still add a tank jacket, wedge a draught excluder at the hatch, pop reflective foil behind radiators, and use a removable chimney balloon. If you own, think a little longer-term: raised boards for storage, a clean route for cables, and a plan for future top-ups that won’t crush the wool. Share photos, borrow tools, swap offcuts of foil board with a neighbour. Warmth, like knowledge, travels best when it’s shared.
| Point clé | Détail | Intérêt pour le lecteur |
|---|---|---|
| Seal the warm side | Draught-proof hatch, seal pipe/ cable penetrations, fit downlight covers | Immediate comfort boost and lower boiler run-time |
| Control the cold side | Keep eaves ventilation open with baffles, prevent wind-wash | Insulation performs closer to its rated value, reduced moisture risk |
| Raise, don’t crush | Use loft legs to keep 270mm+ insulation full-depth under storage boards | Preserves performance while keeping storage space |
FAQ :
- How deep should my loft insulation be in the UK?270mm of mineral wool is the widely recommended depth. If you already have 100–150mm, a cross-layer top-up is a solid win.
- Will sealing the loft cause damp?Seal the warm side (hatch, penetrations) and keep the loft itself ventilated at the eaves. That balance keeps moisture out of the roof while keeping heat in the rooms.
- Can I board the loft for storage without losing performance?Yes. Use plastic loft legs or timber risers to lift the deck above the insulation depth so the wool stays fluffy, not squashed.
- What about downlights and bathroom fans under the loft?Use fire-rated covers for downlights and seal gaps around fans and pipes with suitable sealant. Then re-cover with insulation.
- Are reflective foils worth it?Foil-faced board on the hatch and behind radiators helps. Full-foil overlays in the loft don’t replace proper depth; they work best as part of a sealed, ventilated setup.