Measuring that, not guessing it, is where the story gets interesting.
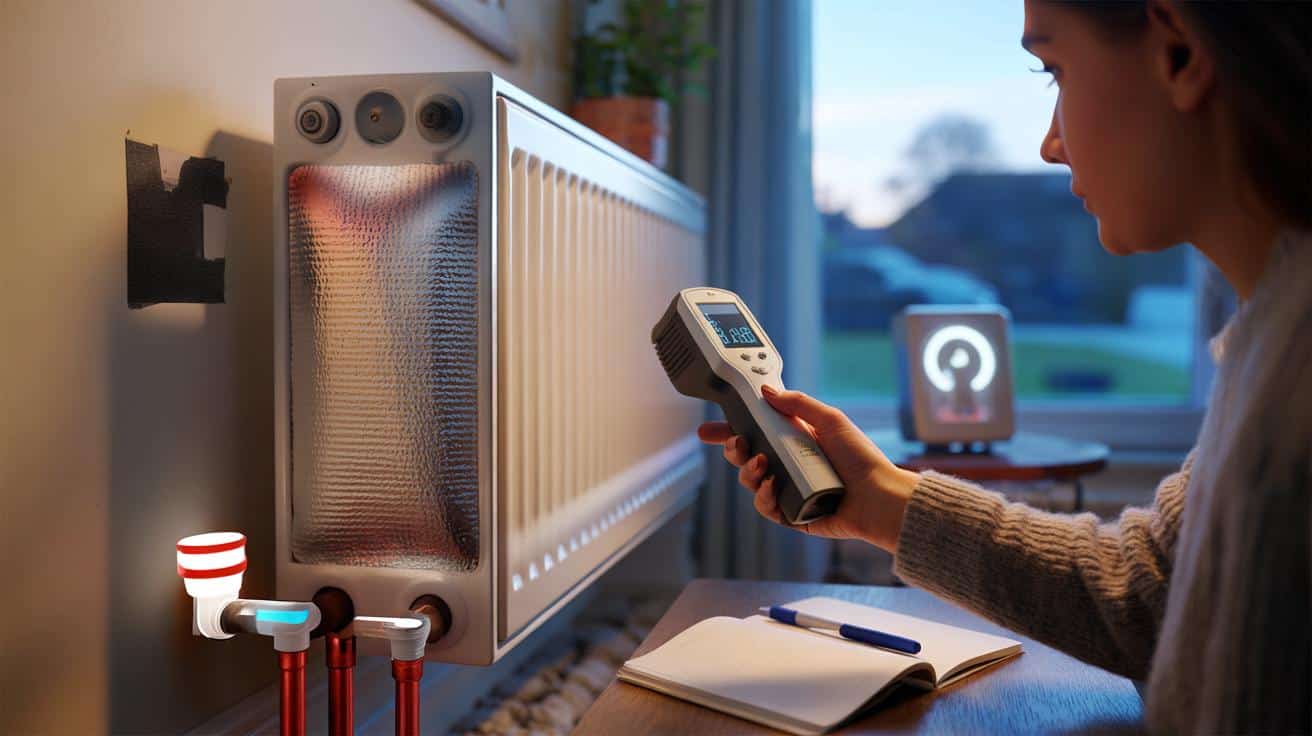
The first cold snap came on a Tuesday. I watched the hallway radiator exhale while the outside wall drank the heat like a thirsty brick. The kettle clicked, the smart meter blinked, and the foil behind the bedroom radiator flashed like a cheap magic trick. My neighbour swears it cut his gas bill, but his place is a 1930s semi with a different wind, a different life. I held an infrared thermometer in one hand and a notebook in the other, letting the boiler hum settle into its rhythm. The wall behind the radiator felt less warm to the touch with the foil on, which is good for the street, but the living room didn’t care about my fingers. It cared about degrees and minutes. Numbers tell their own stories.
What “efficiency” really means in your house
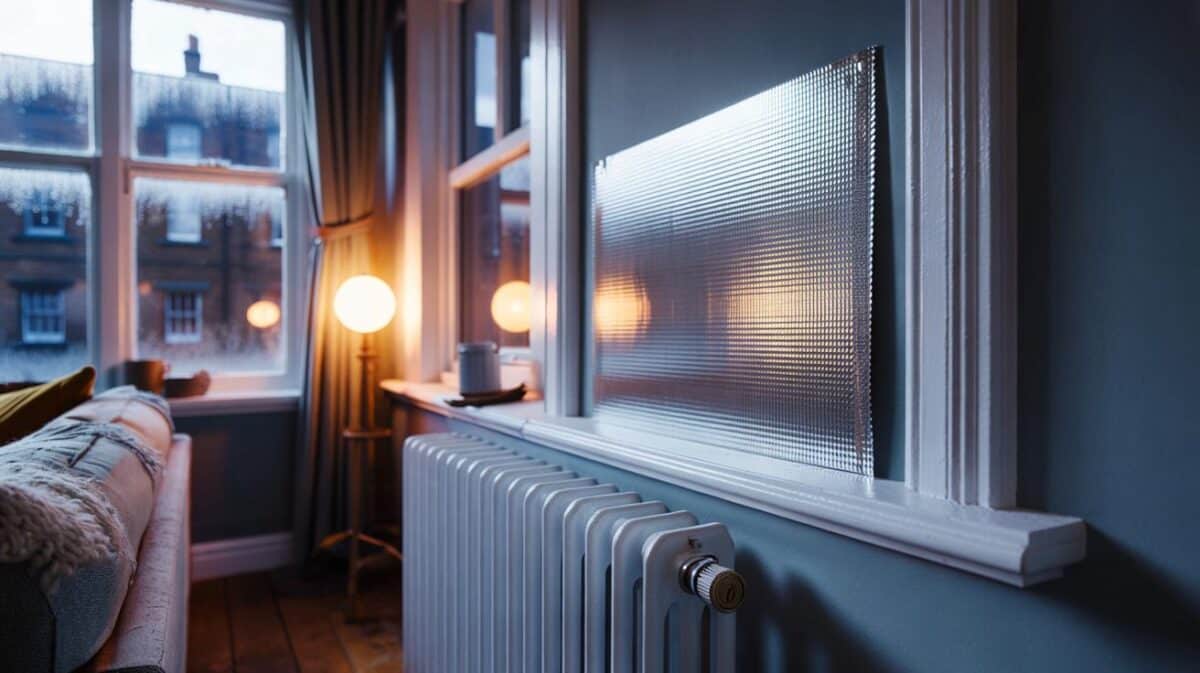
In a lived-in home, radiator reflectors aren’t about shiny surfaces. They’re about how quickly a room reaches comfort and how little of that heat disappears into the wall. The back wall should run cooler, the front of the radiator should give more to the room, and the thermostat should sit smug and still sooner.
For most households, that translates into shorter boiler firing times to hit the same setpoint, or a lower dial for the same feeling of warmth. *Small rooms tell big truths.* If the box room warms noticeably faster with a reflector, the effect is easier to spot than in a sprawling open-plan space.
Across many informal tests, you’ll see the same pattern. The wall behind a radiator drops 2–4°C with a well-fitted reflector, while the room reaches target temperature a few minutes earlier on a standard heat-up cycle. That can trim whole-home energy by around 1–3% in typical UK houses, and a touch more for uninsulated solid walls. **Data beats gut feel.**
A simple, reliable way to measure it
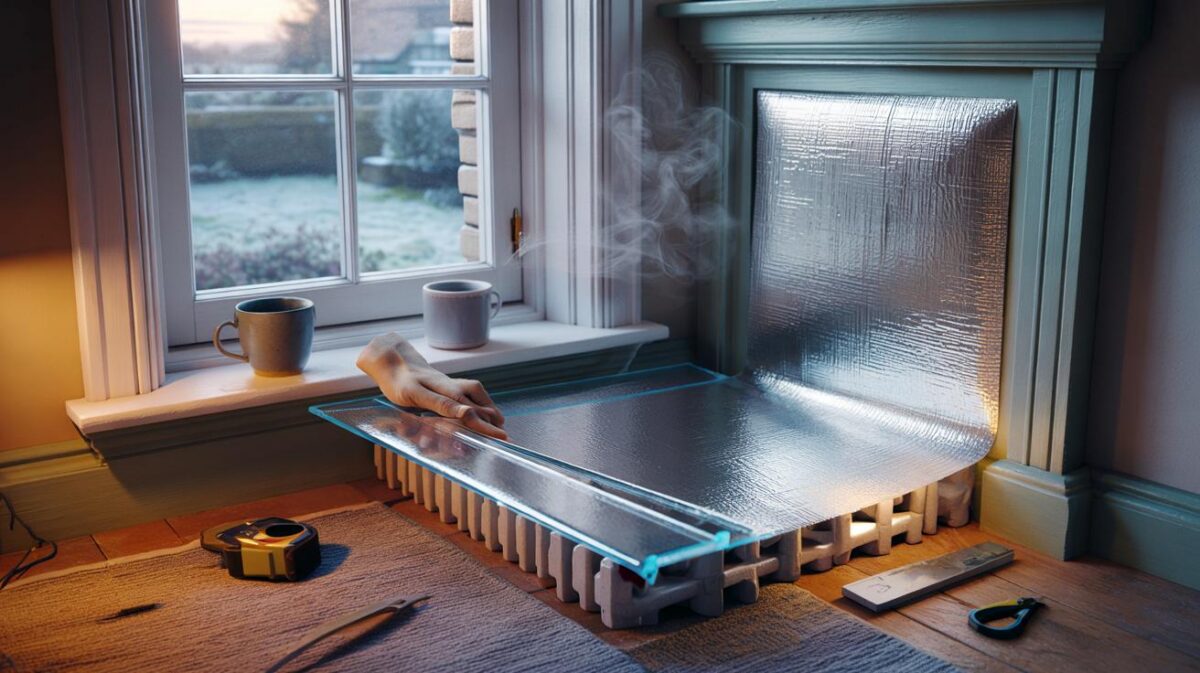
Start with a clean baseline week. Keep your schedule steady, choose one or two rooms you actually use, and log daily energy from your smart meter or gas readings. Then fit reflectors behind those selected radiators and repeat the week. For a sharper picture, calculate energy per heating degree-hour: kWh divided by the sum of (indoor setpoint minus outdoor temperature) over the hours you heat. **Measure energy against weather, not against wishful thinking.**
Keep it practical. Stick a small piece of matte black tape on the reflector area so your infrared thermometer reads true, not the shiny emissivity lie. Clip-on pipe thermometers on flow and return lines show whether the radiator is dumping heat more effectively into the room. Note warm-up time from “heat on” to setpoint in the test room, doors and curtains as you’d usually have them.
Most tests fall over on little traps. People compare a frosty weekend with a mild Tuesday and call it a win. Or they trust the thermostat number without noticing the boiler fired much longer for the same result. Let’s be honest: nobody actually does that every day.
“If you want an answer you can trust, measure the cause, not the hope,” says an energy assessor I know. “Weather-adjusted consumption and room warm-up times beat anecdotes.”
- Tools: smart meter or gas readings, outdoor temperature log (Met Office app works), IR thermometer + matte tape, simple timers.
- Metrics: kWh per degree-hour, minutes to reach setpoint, boiler on-time per hour of demand.
- Design: one-week baseline, one-week with reflectors, same heating schedule.
What the numbers whisper about your home
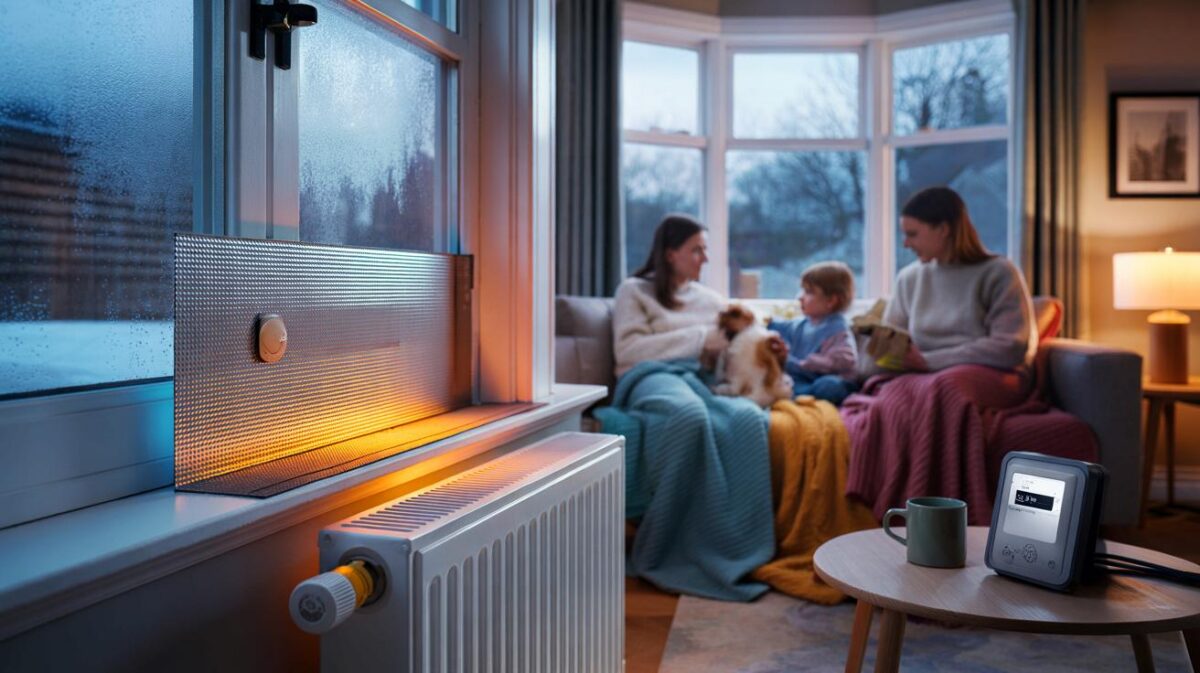
Your house is not a lab, and that’s the point. The test reflects your radiators, your wall construction, your draughts, the way your family moves. We’ve all had that moment when the winter bill hits and you start wondering if the house is quietly leaking money. This is how you stop wondering and start seeing.
If your kWh per degree-hour nudges down after reflectors, and your test room warms faster with no comfort trade-off, you’ve captured real efficiency. If nothing shifts, that’s useful too. It can mean your walls are already decent, or that the big gains lie elsewhere — air tightness, flow balancing, better controls. **Cheap doesn’t mean guesswork.** A handful of calm measurements beats a season of crossed fingers.
The sharper your observation, the kinder your bills. Share your results with a neighbour on the same street, swap charts, trade the tricks that fit your buildings. Radiator reflectors are small moves, but small moves scale when they’re measured with care and applied where they sing.
| Point clé | Détail | Intérêt pour le lecteur |
|---|---|---|
| Define the metric | Use kWh per heating degree-hour and warm-up time | Gives a weather-fair comparison you can trust |
| Use simple instruments | Smart meter, IR thermometer with matte tape, pipe clips | Low-cost tools, high signal from everyday data |
| Design an A/B test | One-week baseline, one-week with reflectors, same schedule | Turns hunches into evidence without lab gear |
FAQ :
- Do radiator reflectors really work?They reduce heat lost into the wall, so rooms often warm faster for the same energy. In many UK homes that shows up as a modest whole-house saving, typically 1–3%.
- How long should I run a test?Two weeks baseline and two weeks with reflectors is solid. If that’s tricky, alternate days over three to four weeks and average the results.
- What if my thermostat is “smart” and keeps adapting?Hold a fixed schedule and setpoint during the test and log energy per degree-hour. Note boiler on-time if your app shows it, so the algorithm doesn’t hide the change.
- Will reflectors cause damp behind the radiator?Not if fitted neatly with the top edge open to air and no trapped moisture. Avoid sealing the wall; think of it as a mirror, not cling film.
- Can I just use an infrared thermometer on the shiny foil?Shiny surfaces fool IR guns. Put a piece of matte black tape on the spot you’re measuring and read that instead for accurate surface temperatures.
How to see — not guess — the gain
Start where you live. Pick one room you care about and a second as a control. Keep the heating schedule steady, hold doors the way you usually do, and take readings in the same morning and evening slots. Small, repeatable beats grand and complicated.
Next, pull the weather thread. Note outdoor temperature each hour you heat, or pull a daily average from a nearby weather station. Turn your week into kWh per degree-hour and compare like for like. You’ll feel the noise fall away.
Finally, look for stories in the curve, not just a single number. A quicker warm-up is a strong sign the reflector is doing its job in that room. A lower kWh per degree-hour is the confirmation. If both move in the right direction, you’re onto a winner, and if they don’t, you’ve learned something precious about your home.


Brilliant explainer—finally someone says “kWh per degree-hour” instead of vibes. I tried the matte tape trick and my IR gun stopped lying. Cheers for the no-nonsense method!
How do you control for smart thermostats learning in the background? Even with a fixed schedule, Tado kept tweakng preheat. Would alternating-day A/B tests reduce drift, or is a two-week block still more robust?