That was my winter. Radiator reflectors promised an easy fix: stick them behind the rads, bounce heat back, save money. Too simple to be true—or just simple enough to work?
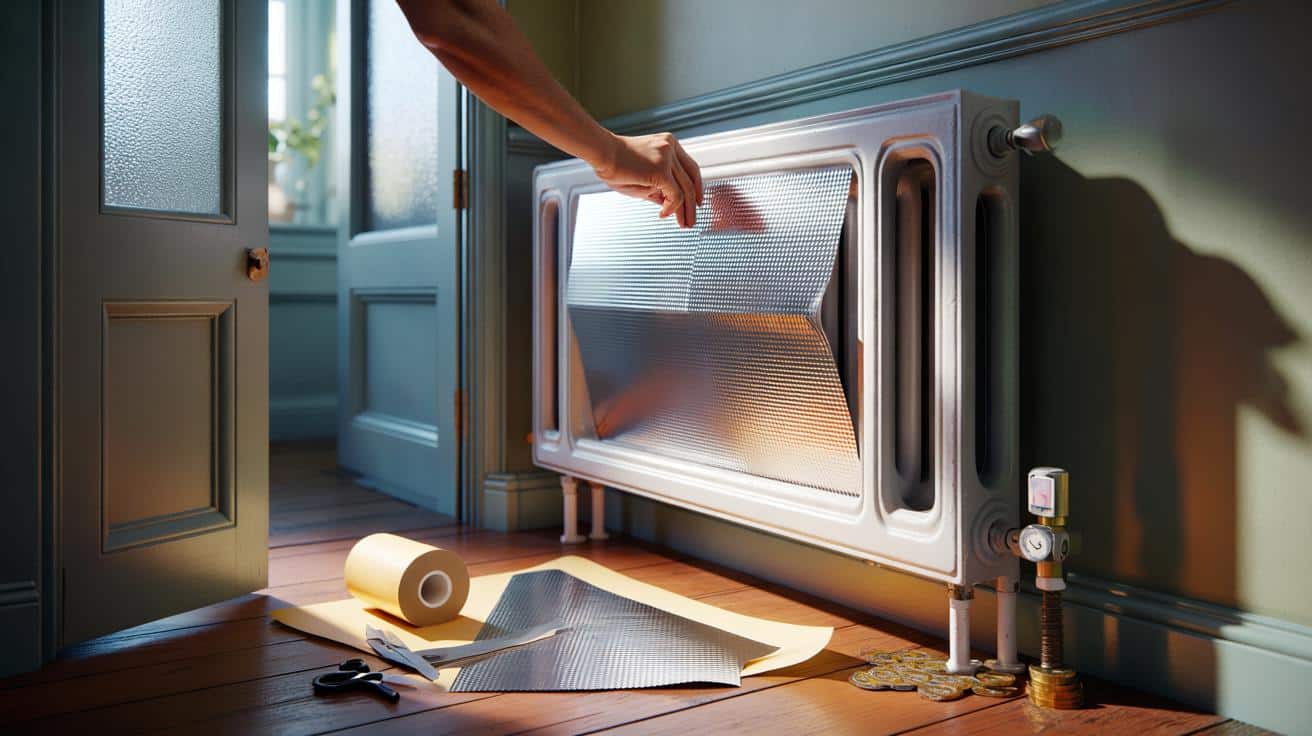
On a damp Saturday in late November, I stood in my hallway holding a roll of shiny foil like a budget magician. The external wall was cold to the touch. The radiator ticked and clicked, bleeding warmth into brickwork older than my street. I turned off the valve, slid my fingers behind the panels, and felt how the cavity gulped heat. The kind of loss you can’t see, but your wallet notices on the first of the month.
I cut the reflectors to size, nudged them down between brackets, and waited for the next cycle. The room didn’t change all at once. It shifted, quietly. By midday, the hallway felt different. The numbers did too.
Something I wasn’t expecting happened next.
What changed when I tried radiator reflectors
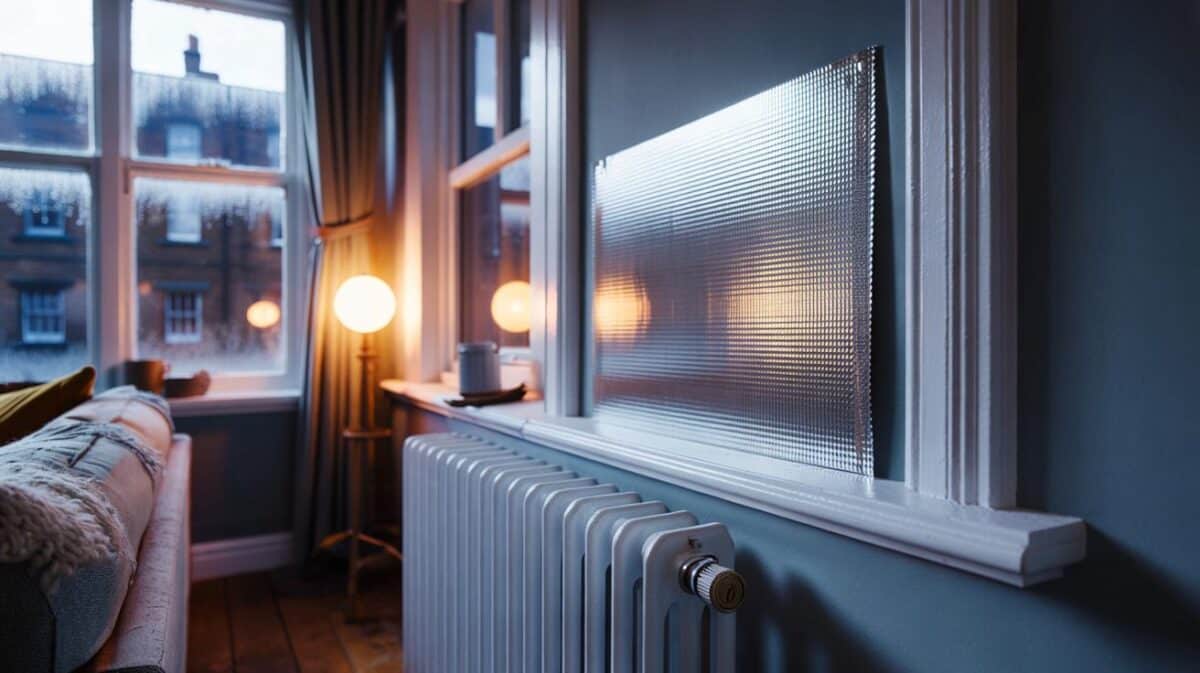
The first thing I noticed wasn’t the thermostat. It was the wall. Before the reflectors, my infrared spot thermometer showed the paint behind the radiator hovering around 34–36°C when the heating ran. After fitting, that patch settled closer to 24–26°C. Less heat soaking into brick, more pushing back into the room. It felt like moving a lamp from a window to your desk. Same bulb, better light.
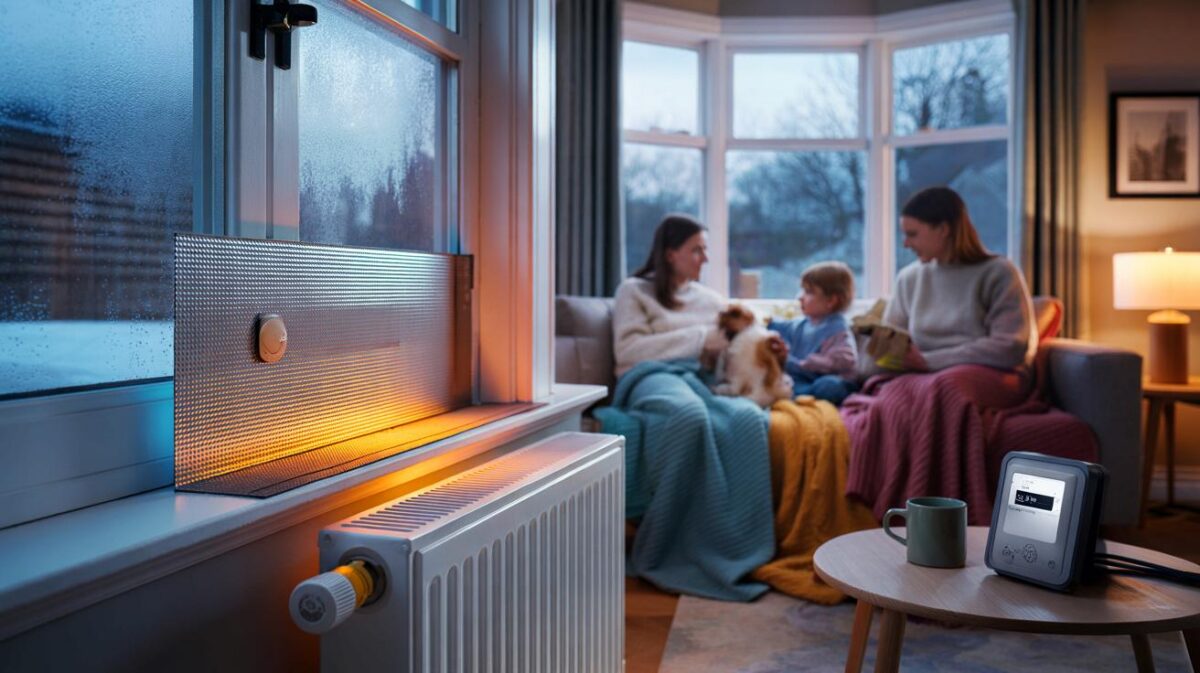
We’ve all had that moment when the room’s warm but your back still feels like it’s leaning against a block of ice. With reflectors, the cold stripe along the skirting faded. The hallway warmed about one degree faster on a timed cycle. On a three-hour evening run, my smart meter showed gas usage down by roughly 6–8% compared with similar outside temperatures the week before. Not a miracle, but not pocket change either.
The logic tracks. A radiator emits heat in two ways: air rising from fins (convection) and invisible radiation beaming out in all directions. A reflector has a low-emissivity surface, which bounces that radiation away from the wall. It’s not changing your boiler’s output; it’s nudging where the energy ends up. In my case—Victorian brick walls, a couple of radiators on external walls—the nudge was enough to matter.
How I fitted them (and what I’d do differently)
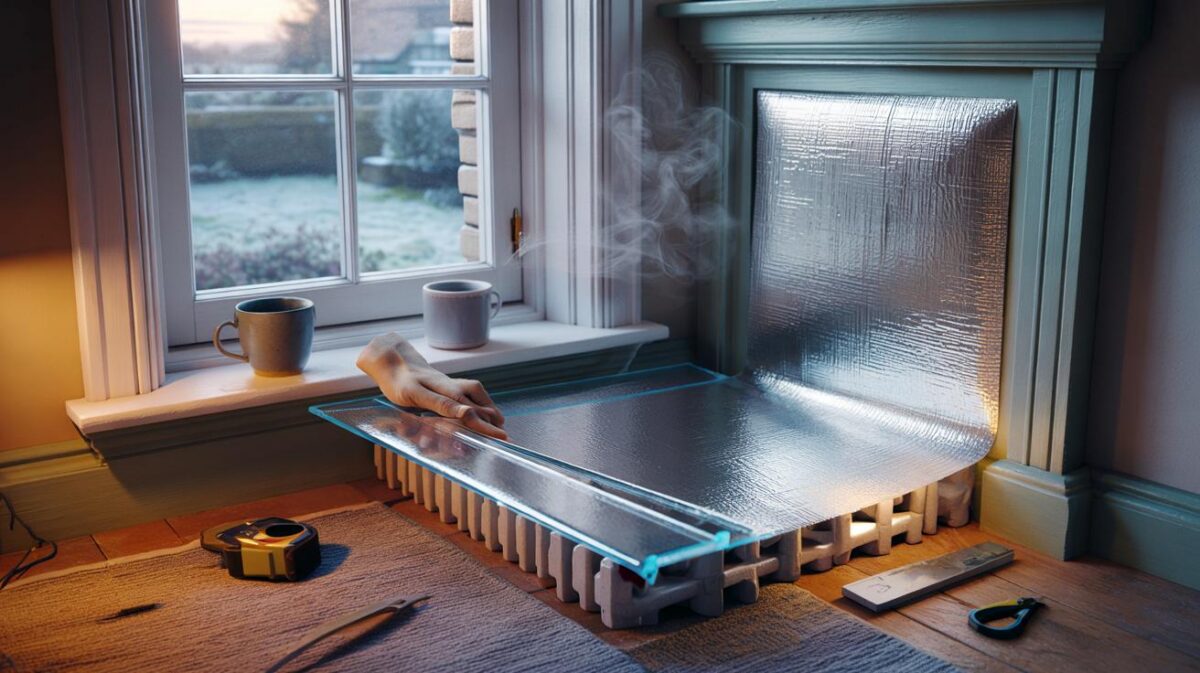
I used foil-faced foam panels cut to the width between the radiator brackets. I left a small gap top and bottom so air could move freely. Double-sided tape along the top edge held them to the wall; gravity did the rest. The radiator stayed on its brackets the whole time. Ten minutes per radiator, a cup of tea cooling nearby, a quiet sense of doing something useful for once.
Let’s be honest: nobody really does that every day. The trick is to do it once, properly. Cut clean edges so the panels sit flat. Avoid blocking the thermostatic valve. If the radiator is very close to the wall, go for the thinnest reflective option you can find. Wipe dust off the paint so the tape sticks. And if your home loves to hold moisture, think about condensation: reflectors shouldn’t trap damp behind them.
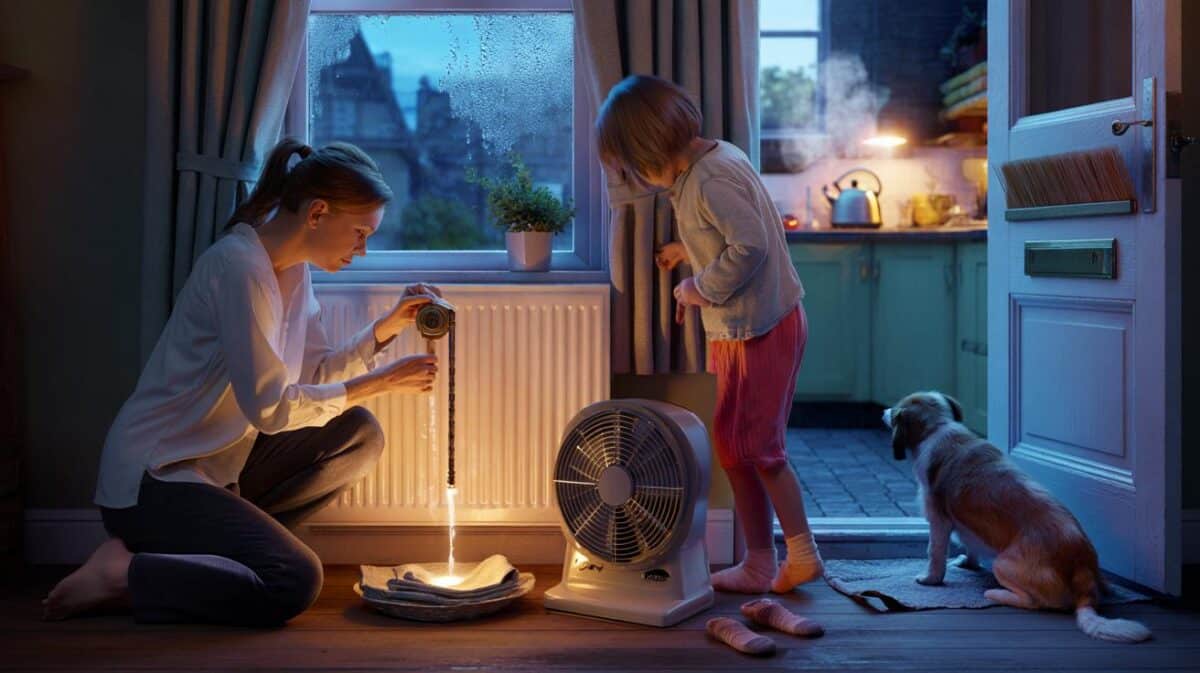
I learned the hard way that kitchen foil taped straight to plaster is a false economy. It tears, curls, and looks tragic the first time you bleed a radiator. I could feel the air by the wall soften, almost like a curtain had been lifted. Spend a few extra pounds on purpose-made low‑emissivity panels and you won’t be redoing the job in February.
“Reflectors won’t fix a boiler on its last legs, but behind external-wall radiators they punch above their weight,” a heating engineer told me over the phone.
- Use low‑emissivity (shiny) panels, not just any foam.
- Leave air paths; don’t block the top or bottom of the radiator.
- Keep clear of thermostatic valves and pipes.
- On damp walls, monitor for condensation the first week.
So… how much heat and money did I save?
Across four weeks, with comparable weather data from a cheap outdoor sensor, my gas use dropped by about 4% overall. The big gains were from two radiators on external walls: one in the hallway, one behind the sofa. In those rooms, short cycles reached target temperature faster, and the smart meter curve had gentler peaks. On my tariff (around 7p per kWh at the time), that’s roughly £28 saved across a full heating season if the pattern holds. In a bigger home with more external-wall radiators, you could plausibly see £40–£60.
I’m not claiming lab conditions. Doors open, kids forgetting to close the bathroom window, a roast on Sunday warming the place unexpectedly. Real life leaks through the numbers. Still, when you stack easy wins, they add up. A pack of reflectors cost me £18. Payback in one winter felt reasonable. If your walls are insulated or most radiators sit on internal partitions, the gains will be slimmer. Aim for the low-hanging fruit: radiators facing bare brick or stone.
There’s a comfort story too. The rooms felt more even, with fewer cold eddies near the floor. That quiet warmth is hard to price, but you notice it when you’re reading at night and not edging your chair closer to the radiator. If you’ve already bled your radiators, balanced the system, and tweaked schedules, reflectors are a tidy final tweak. Skip them if your home already holds heat like a thermos. Buy them if your walls drink it like tea.
Some ideas stick because they’re cheap and they work “enough.” Radiator reflectors live in that middle lane. They’re not a banner headline upgrade like a heat pump or new windows, and they won’t make your thermostat blush overnight. They’re an elbow on the scales. In my draught-happy terrace, that elbow meant gentler bills and less heat vanishing into brickwork. I’ve kept them in, and I recommend them to friends with chilly external walls and reluctant radiators. The best part is how boring they are after day one—fit and forget, then let the rooms do their thing.
| Point clé | Détail | Intérêt pour le lecteur |
|---|---|---|
| Best candidates | Radiators on external or uninsulated walls | Targets the spots where reflectors actually pay back |
| Realistic savings | ~2–8% room-level, ~3–5% whole-home in leaky houses | Sets expectations and avoids disappointment |
| Installation tip | Use low‑emissivity panels; leave top/bottom airflow | Improves performance and avoids common mistakes |
FAQ :
- Do radiator reflectors work with modern double-panel radiators?Yes. They still cut radiant loss into the wall. The effect is smaller than on old single panels but remains worthwhile on external walls.
- Can I just use kitchen foil?You can, briefly. It tears, oxidises, and looks messy. Purpose-made panels with a low‑emissivity surface and a bit of rigidity perform better and last longer.
- Will they cause damp behind the radiator?They can highlight existing damp if your wall struggles to breathe. Leave gaps for airflow, avoid sealing the entire wall, and check after a week. If you see moisture, reconsider on that wall.
- How do I measure the benefit?Track smart meter use on similar weather days, or log warm-up time to a set temperature. A cheap IR thermometer helps you see the wall temperature drop behind the radiator.
- Are they worth it in a well-insulated flat?If most radiators sit on internal walls, savings are small. Try them only where a radiator backs onto the outside. The comfort gain may still be nice, just not dramatic.


Tried this last winter, same ballpark 5–7% drop on gas. Your IR readings behind the rad match what I saw. Biggest win was the cold stripe disappearing by the skirting. For £20-ish, that’s a no‑brainer. Thanks for the clear tips on airflow and not blocking TRVs! 🙂