Radiator reflectors look like the quick fix: cheap, discreet, measurable. But the real question isn’t “Do they work?” It’s how to install several at once so they work together, not against each other.
The Saturday light was thin, the kind that makes paint look tired. I watched a homeowner hold a roll of reflective foil like a sceptical gift‑wrapper, eyeing the gap behind a chunky radiator. The wall felt almost cold to the touch; the room, not quite warm enough no matter how high the thermostat went. She had three radiators, two on external walls, one tucked behind curtains. We measured, cut, and slid in shimmering panels as if we were laying mirrors in secret. Ten minutes later, the room felt different — not hotter yet, but quicker to respond. Something subtle had shifted. Heat had stopped leaking away. And then we noticed the one detail nearly everyone misses.
The room is a system, not three separate heaters
When you install multiple radiator reflectors in one room, you’re shaping where heat flows. Think of it like hanging acoustic panels for warmth: you’re not adding heat, you’re redirecting it. The key is coordination. Radiators on external walls benefit most; the panel reflects radiant energy that would otherwise sink into the wall. Internal walls barely need them. Finish the worst offenders first, then judge the feel of the room. Small room, big effect.
I once watched an IR thermometer tell the whole story. Before we added reflectors, the wall behind the main couch radiator sat at 13°C while the room was aiming for 20°C. After fitting a low‑emissivity panel with a small air gap, the wall sat nearer 16–17°C when the radiator ran. That sounds minor, yet the radiator didn’t “work as hard” to maintain comfort. Multiply that by two or three radiators in the same space and the response time tightens. You get warmth sooner. The thermostat clicks off earlier.
Here’s the logic. Radiators release heat by radiation and convection. Highly reflective, low‑emissivity foil reduces radiative loss into the wall, while the maintained air gap reduces conductive losses. That reflected energy licks back into the room, often lifting surface temperatures on furniture and walls nearby. Warmer surfaces mean the room feels cosier at the same air temperature. Which means you can nudge the setpoint down a notch and keep the same comfort. **External walls first**, always.
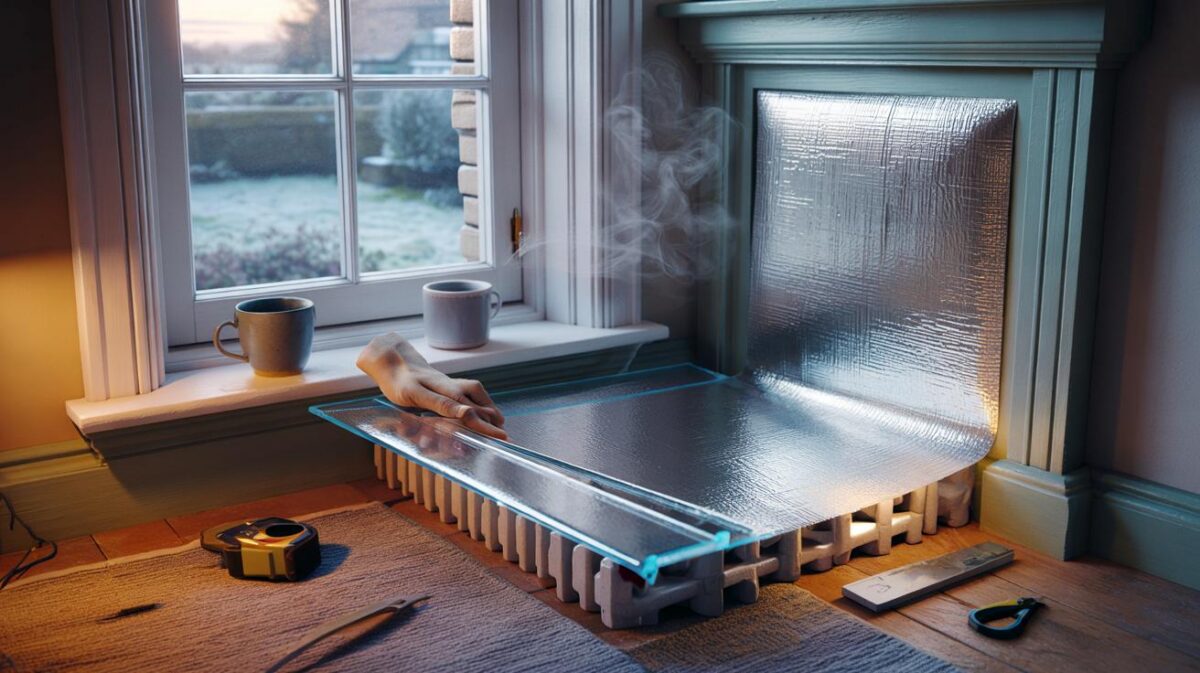
Fitting multiple reflectors so they work together
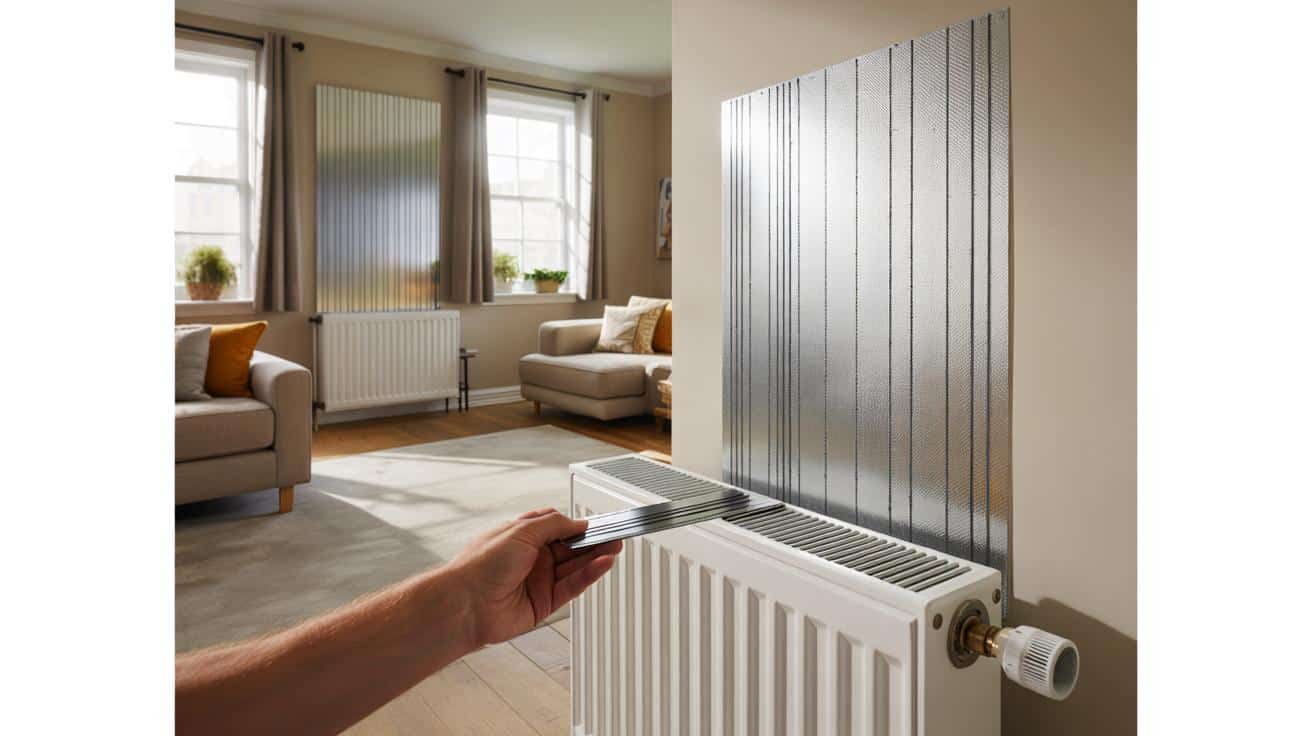
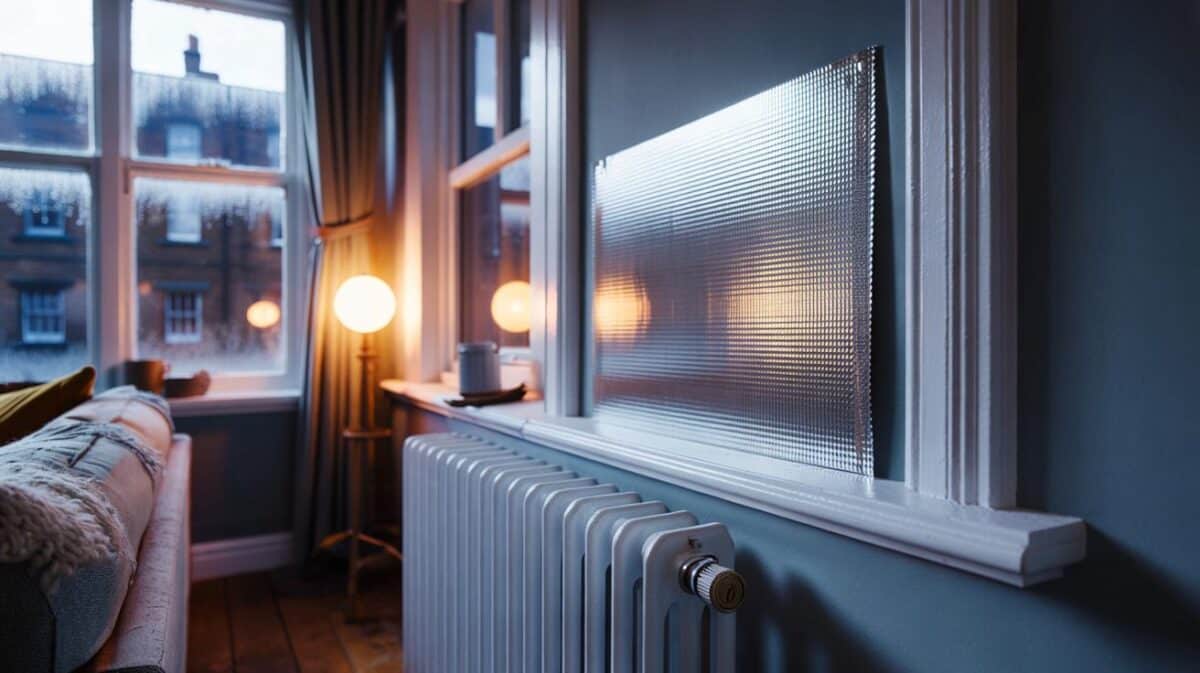
Start with placement. Prioritise radiators on solid or poorly insulated external walls. Cut panels slightly smaller than the radiator’s outline, and run them as vertical strips to respect natural convection. Keep a 10–20 mm cavity between radiator and foil; use thin spacers or magnet‑backed foil so it hangs from the brackets rather than sticking flat to the plaster. Leave a 20–30 mm border around the panel for air to rise and fall. *Read that again: the tiny gap is where the magic happens.*
Mind the ecosystem around each radiator. Curtains should clear the top by a palm’s width; furniture wants at least a hand span in front. Your thermostatic radiator valve needs free air to sense temperature properly. **Avoid blocking TRVs** with foil, covers, or heavy drapes. On bay windows, run shorter panels that don’t crowd the corners — you want convective loops, not stalled hot air. We’ve all had that moment when the room heats unevenly and one corner stays stubbornly chilly. Give the air a path and it usually behaves.
“The panel matters less than the fit,” says a heating engineer I trust. “Create a clean vertical chimney, keep a small cavity, and the radiator will feel bigger than it is.”
- Choose a low‑e foil (emissivity ≤ 0.05) with a wipe‑clean surface.
- Keep a 10–20 mm air gap for better reflection and lower conduction.
- Use magnet strips or removable pads if you rent, adhesive if you own.
- Trim around brackets; don’t seal the whole wall — let air move.
- Check TRVs and pipes have clear access and aren’t insulated by mistake.
Let’s be honest: nobody actually does that every day.
Fine‑tune the whole room and watch the gains stack
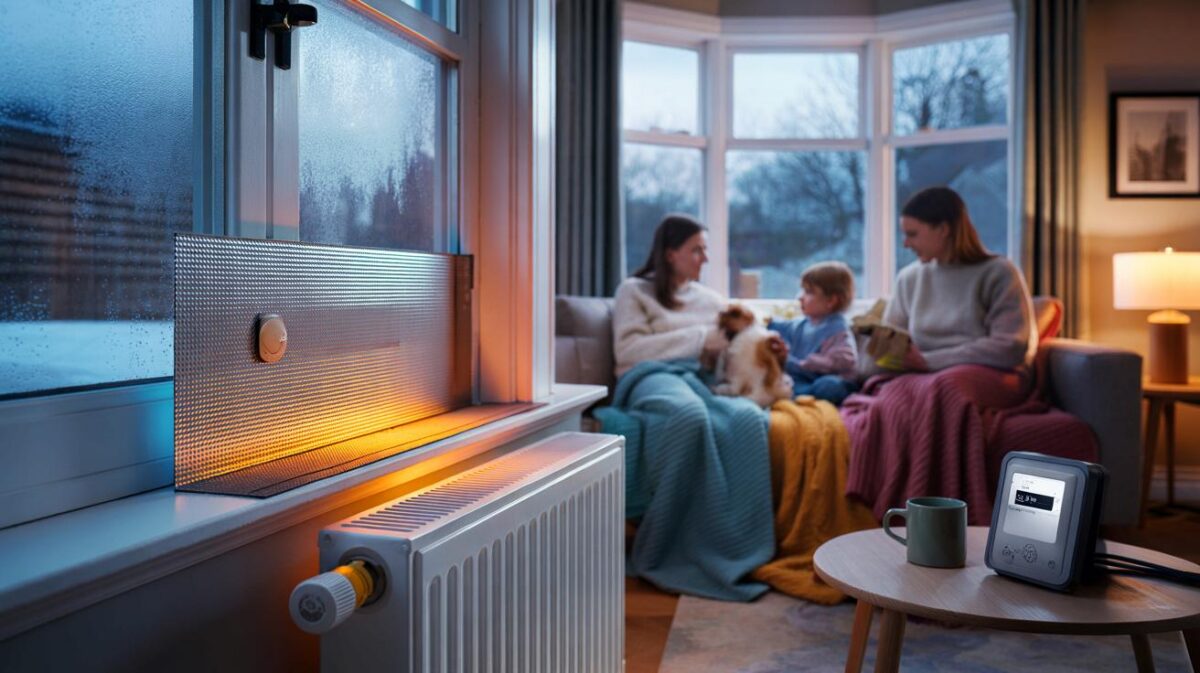
Once multiple reflectors are in, tune the system. Bleed the radiators, balance the lockshields so each warms up evenly, then lower the room setpoint by 0.5–1°C and see if it still feels right. Combine with smart TRV schedules so radiators don’t fight each other. If one sits behind a heavy curtain, consider a shorter curtain or a discreet bracket to hold fabric off the top rail. A quick test with a cheap IR thermometer — floor skirting, wall behind radiators, and the centre of the room — will tell you if heat is staying put. Small tweaks have outsized effects.
Expect different returns depending on your walls. On uninsulated solid walls, independent tests and Energy Saving Trust guidance suggest reflector panels can cut heat lost through that wall area by a meaningful chunk, often quoted up to roughly a third, translating to notable savings when several radiators are involved. Where walls are cavity‑insulated or internally lined, the gain shrinks but isn’t nil — faster warm‑up has a comfort value on its own. A decent heuristic: fit panels to every radiator on an external wall in the room, skip internal partitions, then judge by feel and meter readings across a couple of weeks.
Materials matter. Go for a tough, low‑emissivity face, not just shiny “kitchen foil” — look for a spec stating high reflectivity and a proper fire rating. **Leave a 10–20 mm air gap** rather than glueing foil fully flat; reflective barriers need space to function. On damp‑prone walls, avoid sealing edges with tape that traps moisture; keep things breathable and inspect after a week of heating. If you’re renting, magnetic hanging kits are gold: they clip on the radiator brackets or use slim steel strips behind the foil so nothing touches the paintwork. Future you will thank you on move‑out day.
| Point clé | Détail | Intérêt pour le lecteur |
|---|---|---|
| Choose targets | Prioritise radiators on external or cold walls; skip most internal partitions | Spends effort where gains are real |
| Preserve airflow | Vertical strips, 10–20 mm cavity, free TRVs and valve access | Faster warm‑up and more even heat |
| Tune after fitting | Bleed, balance, then drop setpoint by 0.5–1°C if comfort holds | Turns reflection into bill savings |
FAQ :
- Do radiator reflectors work if my walls are already insulated?Yes, but with smaller gains. You’ll usually feel quicker response more than big bill cuts. External walls still benefit most.
- Should I cover the entire wall behind the radiator?No. Use panels slightly smaller than the radiator and keep a small air gap. Full‑wall foil can hinder airflow and add moisture risk.
- Is kitchen foil a cheap alternative?Not really. It tears, oxidises, and lacks a low‑emissivity coating. Purpose‑made panels reflect better and last longer.
- Will reflectors make my thermostat read wrong?They can improve readings by stopping heat from soaking into the wall, but don’t block the TRV or hide it behind curtains.
- How far should furniture be from a radiator with a reflector?A hand span is a good rule. If space is tight, 5–10 cm clearance plus vertical strips usually keeps airflow alive.


Great walkthrough—“external walls first” plus the 10–20 mm cavity was the missing piece for me. I’d been slapping foil flat and wondering why nothing changed. After switching to vertical strips with a small air gap, my lounge warms faster and the TRV stops over‑shooting. Thanks!
Skeptical hat on: the article mentions “up to roughly a third” reduction through that wall area. Is there a linked study or EST doc with numbers for solid vs cavity-insualted walls? I’d love kWh-before/after examples, not just IR temps. Otherwise it’s hard to judge payback vs effort.