The kettle clicked, the cat darted, and the foil crumpled into a sad silver wave. He’d bought the “good stuff” online and was sure it would slash his bills, but the panel was too small, the wall was dusty, and it pressed hard against the back of the radiator like clingfilm. A week later it sagged into a heat-scuffed ribbon.
The truth about radiator reflectors is more ordinary and more useful. They don’t need drama, just careful, boring prep and a few rules you can actually live with. The mistakes people make are simple, familiar, fixable.
The twist? Done wrong, they can even make a room feel colder.
Heat doesn’t care about hype — it follows physics
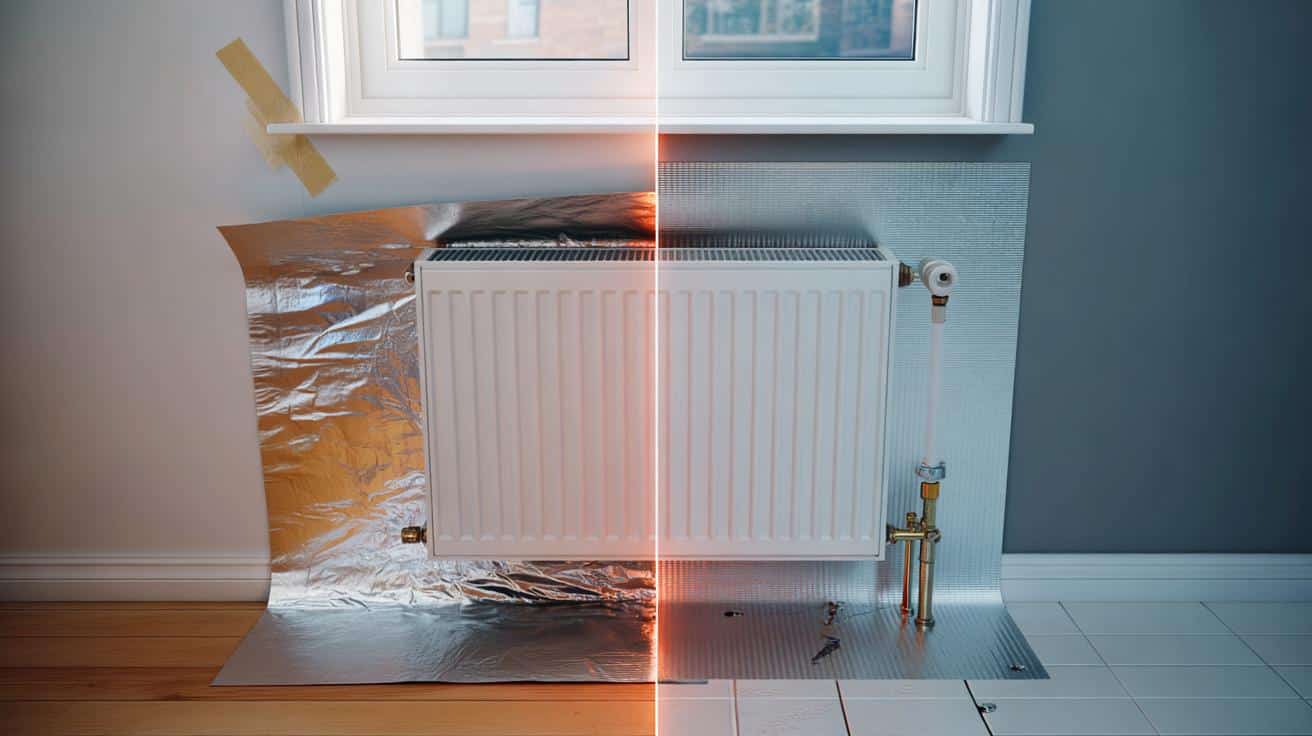
Radiator reflectors work by bouncing radiant heat back into the room instead of letting it soak into a cold external wall. That’s the win. The losses creep in when we buy the wrong panel, stick it in the wrong place, or wrinkle it so badly the reflective face stops doing its job.
Expecting miracle savings is the first trap. Reflectors trim waste at the margins, not transform a leaky house overnight. *A small tweak beats a big bill.*
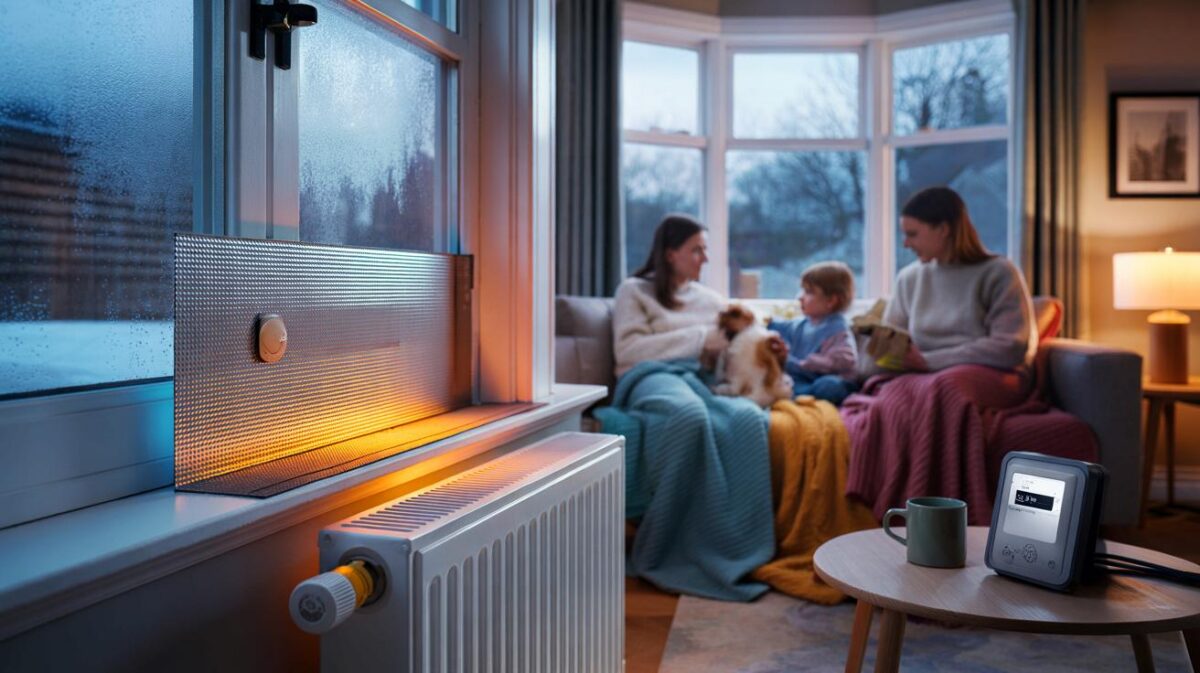
Here’s a picture you can hold: a terraced UK flat with two radiators on an external wall. With a decent low‑emissivity foil facing the radiator and an air gap behind it, independent tests often see 5–10% less heat lost through that patch of wall. Across the whole home, that tends to land in the low single digits. Not nothing, not magic. We’ve all had that moment where a simple fix felt like a new boiler. This isn’t that. It’s a neat, quiet gain that keeps toes warmer and paint drier.
Let’s be honest: nobody degreases a wall and checks emissivity ratings every day. You do it once, correctly, and you stop thinking about it. That’s the charm of this job done right.
Why do the usual mistakes bite so hard? Wrinkles and dust rob reflectors of the smooth, shiny face that actually reflects radiant energy. Pushing foil tight against the radiator turns it into a conductor rather than a reflector, bleeding warmth into the wall. A tiny air gap is your friend because it limits conduction while the low‑e surface bounces heat back.
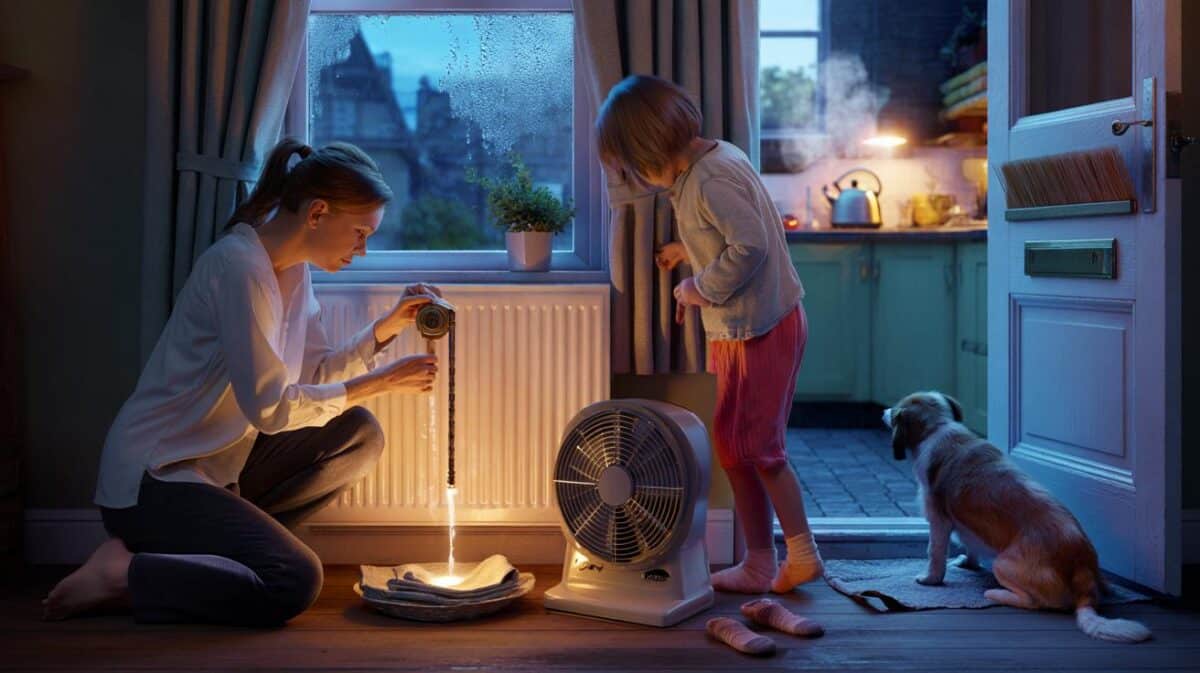
Putting panels behind internal‑wall radiators adds fuss without payoff, because there’s little external heat loss to stop. Another quiet gotcha is moisture: if you leave edges flapping, warm room air can loop behind the panel, cool, and condense on the wall. That’s how people “install savings” and grow a mould garden by mistake.
Install with a light touch, not brute force
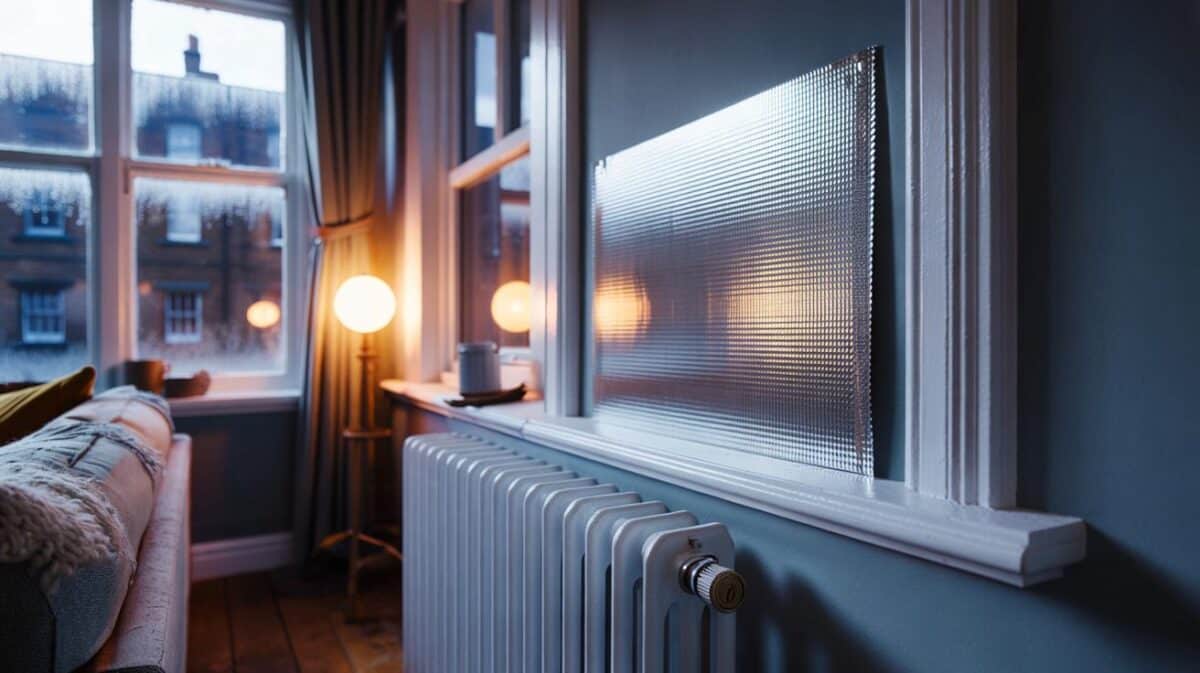
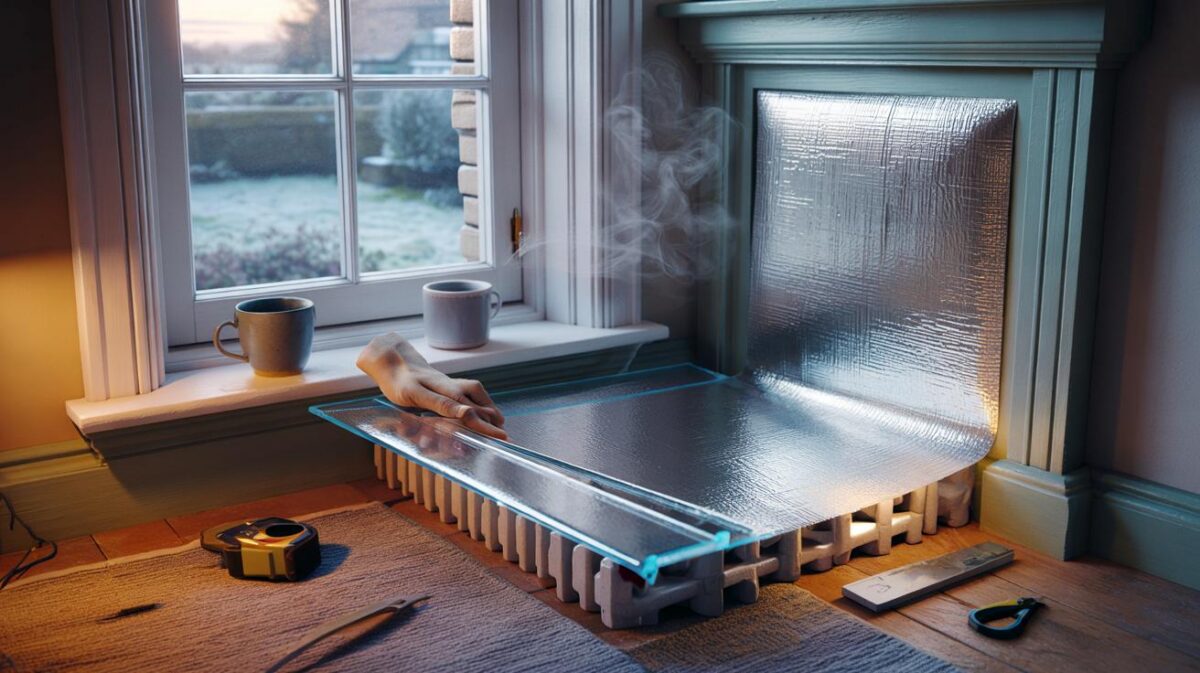
Start with the right stuff: a proper low‑emissivity foil facing the radiator, ideally bonded to a thin insulating layer like foam or honeycomb board. Measure the radiator’s width and height between brackets and cut panels to that footprint, allowing for pipes and valves. Clean the wall with sugar soap or mild detergent and dry it until it squeaks. You want the panel smooth, taut, and upright.
On steel radiators, magnetic strips or tabs make a clean, reversible mount. On masonry, use high‑temperature double‑sided tape around the perimeter and a cross in the middle. The panel faces the radiator, not the wall. Keep a slim air gap, and don’t bridge over brackets. If access is tight, use the “string trick”: stick two pull cords to the top of the panel, slide it down behind, then tug to seat it square.
Common stumbles are painfully ordinary. People cut panels too small and leave a cold strip of bare wall that guzzles heat. They slap foil onto a greasy, dusty surface and wonder why it sags by Monday. They place it behind a radiator on an internal partition and claim no difference.
Others tape over a thermostatic radiator valve, reflect heat onto its sensor, and the valve thinks the room is toasty, so it throttles early. **Never block a thermostatic valve or the radiator’s top grill.** And watch for bathrooms or kitchens where steam and condensation live; edges matter there. **Seal edges to keep moist air out, or choose a panel with a closed‑cell core.**
Think of it like hanging a mirror for heat: you want it flat, clean, and facing the right way. **Cover the whole radiator footprint, not just the middle.**
“Aim for a low‑e surface facing the radiator, on external walls only, with a smooth face and sealed edges. The less it flaps, the more it saves.” — Liam K., heating engineer in Leeds
- Stop at external walls. Internal walls rarely repay the effort.
- Prepare the wall: wash, rinse, dry. Adhesion loves clean.
- Allow a slim air gap; don’t press hard against the radiator.
- Keep valves and sensors free. No tape, no foil near them.
- Seal edges where steam lives. Mould hates tidy work.
What survives the first winter is what works
Radiator reflectors are a quiet kind of home upgrade. Once they’re in, they should vanish from your mind and still do their job through cold snaps, steamy showers, and the odd DIY mishap. That only happens when you dodge the sneaky mistakes: the flashy but flimsy foil, the dusty wall, the too‑small cut, the panel on the wrong wall.
When you next hear the heating click on, picture where that warmth wants to go. It wants the fastest path. If your reflector gently nudges it back into the room, night after night, you’ll feel that as a softer chill and a steadier thermostat. Share what you learn with the person who gave you the roll of foil. They’re probably wrestling the same crinkles.
| Point clé | Détail | Intérêt pour le lecteur |
|---|---|---|
| Right place, right face | Use low‑e foil facing the radiator on external walls only, with a slim air gap | Maximises real savings and avoids wasted effort |
| Prep and coverage | Clean wall, full footprint coverage, smooth and taut panel with sealed edges | Prevents sagging, stops condensation loops, keeps heat where you pay for it |
| Don’t hinder controls | Keep TRVs and top grills clear; avoid reflecting heat onto sensors | Stops rooms running cold or hot due to false valve readings |
FAQ :
- Do radiator reflectors really make a difference?They reduce heat lost through external walls behind radiators, often by 5–10% at that spot, which translates to a small but steady whole‑home saving. You’ll feel it most on long, cold evenings.
- Should I fit them behind every radiator?No. Focus on radiators on external walls. Panels behind internal‑wall radiators rarely pay back time or cost.
- How big should each panel be?Match the radiator’s width and height between brackets, leaving cut‑outs for valves and pipes. Bigger beats smaller, as gaps expose cold wall that swallows heat.
- Will they cause damp or mould?They can if air can circulate behind them and cool. Seal edges in steamy rooms, use closed‑cell cores, and keep the face smooth. If a wall already has damp, fix that first.
- Is magnetic mounting better than tape?Magnets are great on steel radiators for a clean, removable fit. Tape or adhesive pads suit masonry walls. Clean and dry surfaces are the deal‑breaker either way.


Great explainer—especially the bit about low‑e foil and keeping a slim air gap. I’d been pressing mine flat like clingfilm (oops). Clean wall + full footprint + sealed edges makes so much sense. Thanks! 🙂