He unrolled it like a giant scarf, tucked it between joists, and stepped back with the quiet pride you see after a good mow. Two weeks later, he said the bedrooms still felt oddly chilly at night. And the bathroom mirror fogged faster than ever. The house looked insulated. It didn’t act insulated. I’ve since heard versions of that story on doorsteps across Britain, from terraces in Salford to cottages in Pembrokeshire. The same hopeful start. The same “why isn’t it working?” ending. The truth hides in the small gaps, not the big gestures. One mistake and the warmth leaks out in silence. One mistake and moisture follows.
Where insulation goes wrong before it even begins
Most people think insulation is a single job: roll, staple, done. The bigger reality is air. Warm air slips through hairline gaps around pipe penetrations, downlights, loft hatches and sash frames, dragging heat with it. Without basic air sealing, insulation gets bypassed by invisible draughts. The result is classic British: rooms that never quite settle, radiators that work overtime, energy bills that creep up like ivy. Think of insulation as a cosy jumper. **If the wind whistles through your cuffs, you’re still cold.** Stop the breeze, then add the wool.
I met a young family in Leeds who’d spent a weekend topping up their loft to 300 mm and felt quite chuffed about it. Their winter bill dropped a bit, yet the box bedroom had a persistent chill on still nights. We found a hand-sized gap around a soil pipe and a loft hatch that sat proud by 3 mm on one corner. Tiny details, outsized effect. Studies point to 35% of heat loss through walls and around 25% through the roof in typical UK homes, but real-world losses spike when air finds an easy path. The couple fixed three leaks with mastic and foam. The bedroom warmed by two degrees. No extra rolls needed.
There’s a physics story behind this. Insulation slows heat flow, but moving air ignores your careful layers. Convection loops set up in cavities; warm air climbs, cool air falls, and your expensive heat cycles in little ghost currents. Add vapour, and you hit the dew point on the wrong side of the build-up, inviting condensation where you can’t see it. That’s when black spots appear, screws rust, timbers grumble. The fix starts with continuity. Continuous air layer. Continuous insulation depth. Break the loops, and the warmth stays put. *Let air roam and cold spots creep back in.*
Details that make or break your cosy plan
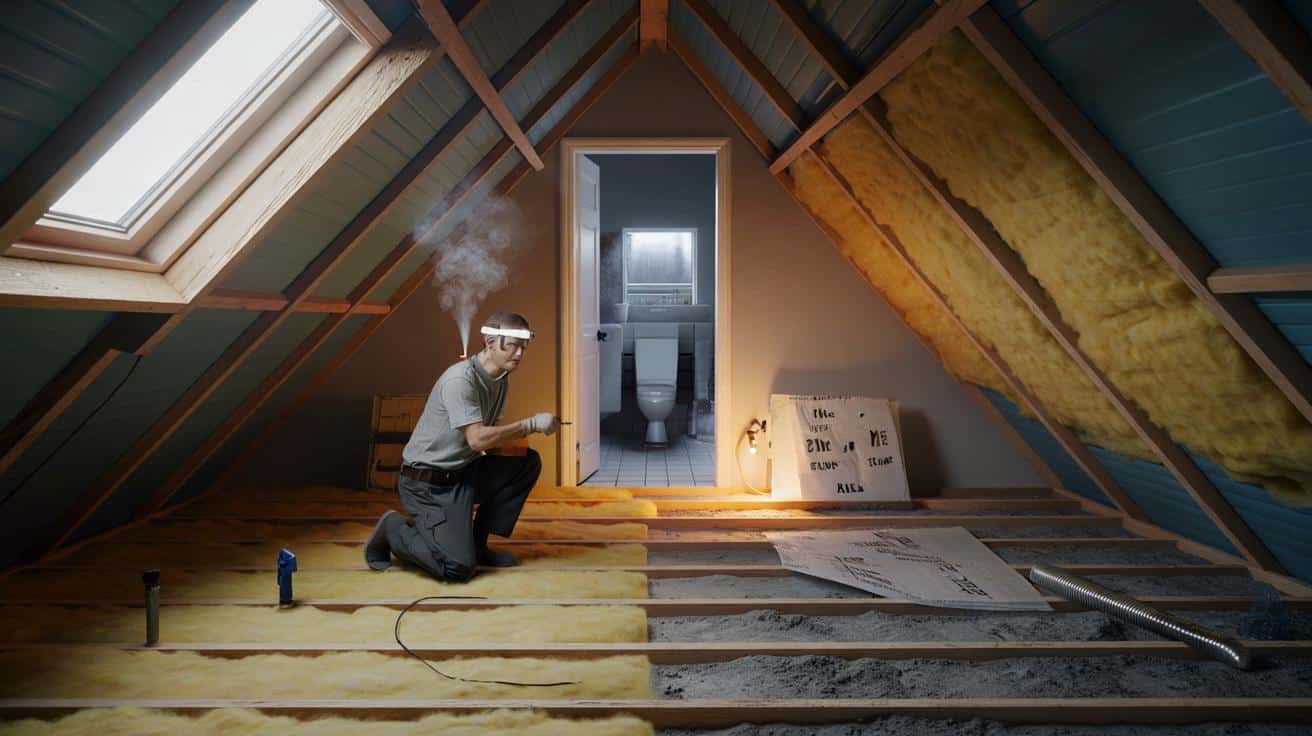
Work from the edges in. Seal the loft hatch with compressible foam tape and fit insulated board to its back. Box around downlights with fire-rated covers, then lay insulation over without gaps. Around pipes and cables, use flexible sealant or grommets for a neat, draught-tight finish. In a pitched roof, keep a 50 mm ventilation gap at the eaves using baffles, then fill between rafters without squashing. Aim for even depth: 270–300 mm mineral wool in the loft is a sweet spot many homes still miss. It’s not glamorous, but this is where comfort quietly improves.
Common missteps are wonderfully human. Compressing insulation to “make it fit” loses much of its loft and R-value. Leaving a cosy duvet of wool over the eaves vents chokes the roof and invites condensation. Skipping a vapour control layer behind internal insulation on cold external walls leads to damp-lined regrets by spring. And that tempting cut-out around socket back boxes on an insulated plasterboard job? It becomes a little chimney. We’ve all already lived that moment where a quick fix wins the day, only to bite us later. Be kind to yourself. Then do the fussy bits.
Soyons honnêtes : personne ne fait vraiment ça tous les jours. That’s why a checklist helps, and a simple mantra: seal, then insulate, then ventilate.
“Insulation only works as a system,” says an energy assessor in Bristol. “Break the chain once, and the whole house tells you about it.”
- Seal: Loft hatch, service penetrations, window frames, skirting-to-floor line
- Insulate: Full, even depth; no compression; continuous layer at junctions
- Ventilate: Clear eaves, trickle vents, extract in kitchen and bath
- Protect: Vapour control where needed; damp-proof strategies on cold walls
- Verify: Thermal camera or smoke pencil on a windy day to spot leaks
The quietly costly mistakes you can sidestep
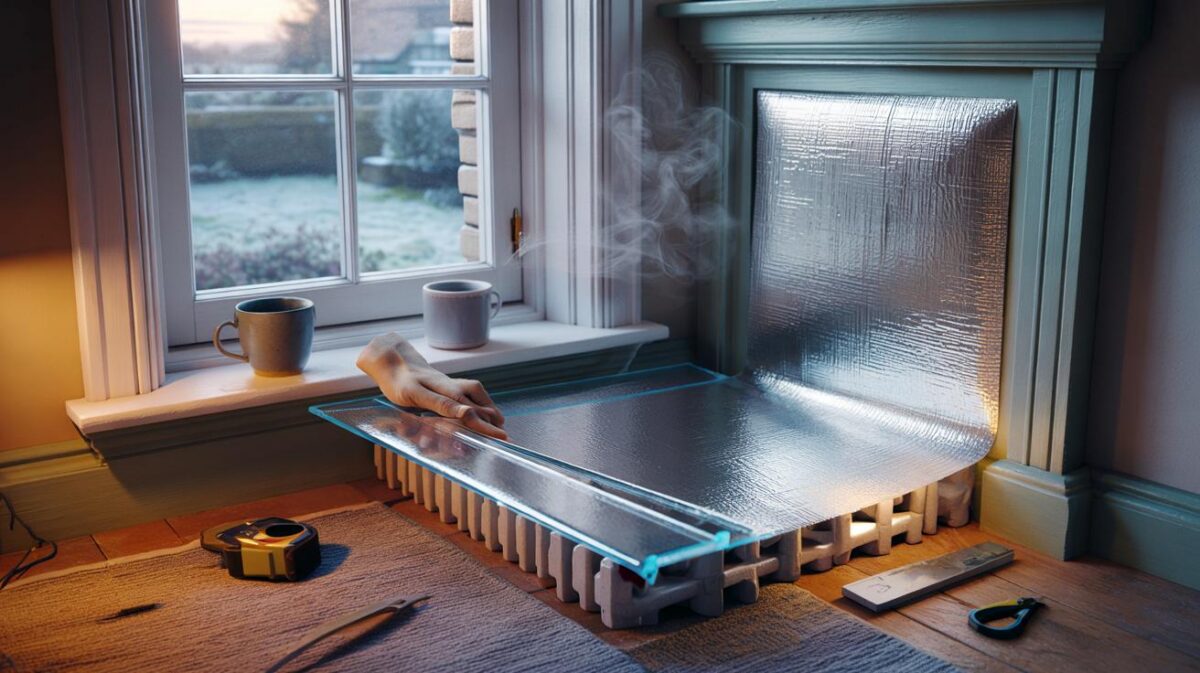
Rushing the junctions is the big one. At eaves, carry loft insulation over the wall plate using rigid upstands so warmth doesn’t spill out at the edge. At wall-floor junctions, dribble a bead of mastic along the skirting line, then fit a neat timber mould if you want it invisible. Around a loft conversion, use PIR boards cut tight, taped on every seam, and return the insulation a little way onto the party walls to blunt thermal bridging. **Air and continuity beat sheer thickness every time.** That’s the part most DIYers never get told.
The second trap is trapping moisture. Internal wall insulation on Victorian solid walls can work beautifully when the wall is dry and breathable. Stick foil-backed boards to a damp north-facing gable with dot-and-dab and you’re asking for a farm of mould behind the plaster. Breathable systems need breathable finishes and attention to rain splash, gutters, and ground levels outside. Extract fans with run-on timers in kitchen and bath are cheap heroics. Keep the fabric dry, and insulation pays you back for decades without drama.
Finally, believe what you feel and hear. If a room sounds hollow and cool underfoot, you may be missing underfloor insulation on a suspended timber floor. If the stairwell breathes like a flute on windy nights, the loft hatch or landing spots are leaking. As one builder told me,
“Your house leaves clues. You just need to slow down enough to read them.”
Below, a quick crib you can screenshot before your next trip to the merchant:
- Loft: 270–300 mm mineral wool, clear eaves, sealed hatch
- Walls: The right system for solid vs cavity; mind vapour and breathability
- Floors: Mineral wool between joists with netting, or rigid boards beneath
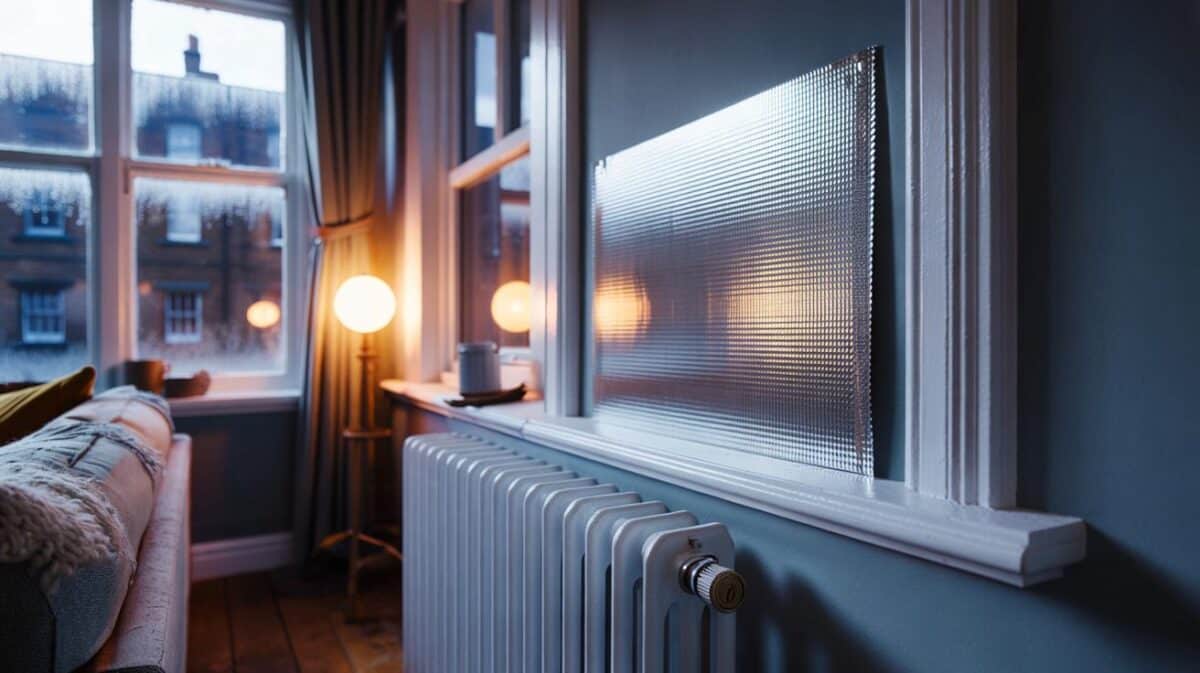
- Windows: Draught strips, trickle vents open a touch, curtains to the sill
- Proof: Use a smoke stick or incense to find sneaky leaks on a breezy day
There’s a lovely calm when a home holds its heat. You notice it in the way the kettle steam doesn’t linger, in the slower tick of the radiator valves, in the way socks become optional on a Tuesday morning. The route there isn’t heroics; it’s the little moves repeated at the edges, in the corners, in the quiet places no one posts on Instagram. If you’ve already laid insulation and something still feels off, treat it like a puzzle. Look for the missing link, not the missing roll. **Patch the paths heat loves to take.** Share the trick with your future self six winters from now.
| Point clé | Détail | Intérêt pour le lecteur |
|---|---|---|
| Seal before you insulate | Block gaps at hatches, pipes, cables, skirtings | Stops warm air bypassing your shiny new insulation |
| Keep insulation continuous | Even depth, no compression, tape and return at junctions | Eliminates cold spots and thermal bridges |
| Let the fabric breathe | Match vapour control to wall type, maintain ventilation paths | Prevents condensation and mould behind finishes |
FAQ :
- What’s the number one insulation mistake?Skipping air sealing. Tiny leaks around hatches, pipes, and frames can halve the benefit of thick insulation.
- Do I need a vapour barrier on every wall?No. Solid walls often prefer breathable systems; cavity walls with internal boards may need a vapour control layer. Match the method to the wall.
- Is more insulation always better?Only if it stays fluffy and continuous. Squashed insulation performs worse than a thinner, well-fitted layer.
- Will extra insulation cause damp?It can if you block ventilation or trap moisture. Keep eaves clear, extract in wet rooms, and plan for vapour movement.
- How can I check my work without pro kit?Use an incense stick on a windy day to trace leaks, and your hand to feel cold edges. A cheap thermal camera add-on helps too.


This explains why my loft ‘upgrade’ didn’t change much. I never sealed the hatch or around the soil pipe. Any rule of thumb for choosing between mastic vs expanding foam on awkward gaps?
Sounds a bit like scaremongering. Do tiny leaks really halve the benefit? Any peer-reviewed sources on the 35% walls/25% roof figures and the impact of air leakage vs insulation thickness?